Building an off-grid cabin is a thrilling adventure that promises freedom, self-sufficiency, and a closer bond with nature. Whether you want a weekend hideaway or a permanent retreat, this guide will walk you through each stage—from the initial idea to the finished build. Follow these simple, actionable steps and watch your off-grid dream come to life.
Step 1: Clarify Your Vision
Before breaking ground, take a moment to picture what you really want. What’s your cabin for? Weekend escapes, full-time living, or a bit of both? How many people will use it? What kind of vibe fits your lifestyle—rustic, modern, or something in between?
For example, a couple in California dreamed of a family-friendly cabin with enough space for weekend visitors. They picked a roomy, open layout with multiple bedrooms and gathered inspiration from natural textures like wood and stone to guide their design.
Step 2: Choose the Right Location
Next up is picking the perfect spot. Think about what resources you’ll need—water access, timber, sunlight for solar panels. Check the land’s slope, drainage, and stability. Avoid places prone to floods or landslides. Don’t forget to research local building codes and zoning laws to steer clear of legal headaches.
Mark from Washington State found a great spot near a lake and forest. He chose it because of nearby water, lots of sun, and a mild climate that would support solar power and year-round comfort.
Step 3: Create a Detailed Plan
With your vision and location locked in, sketch out your cabin’s layout. How many rooms? Where do windows and doors go? Plan for maximum natural light and airflow. List the materials you’ll need—think locally sourced and eco-friendly to keep your footprint small. Budget carefully, including permits, materials, and labor, and always set aside extra funds for surprises.
Sarah and her friends drafted a plan for a two-bedroom cabin with an open kitchen and living space. They opted for reclaimed wood to save money and the environment, budgeting $20,000 with $5,000 tucked away for emergencies.

Step 4: Prepare the Site
Clear the land by removing trees, shrubs, or debris. Be sure to get permits if required. Level the ground carefully—it’s crucial for a stable build. If you plan to have electricity or plumbing, it’s smart to install those lines before you start building.
Tom in Alaska hired help to clear his wooded site, then leveled it himself, marking boundaries clearly. He stayed mindful of environmental rules to keep the ecosystem safe.
Step 5: Build the Foundation
A strong foundation is the backbone of your cabin. Options include:
- Pier foundations, great for sloped or uneven ground
- Concrete slabs, offering a flat surface and easy utility setup
- Crawl spaces, which provide ventilation and access to plumbing and wiring
Jenny in Vermont chose a concrete slab for better insulation in winter. She and friends excavated the site, poured the slab, and researched eco-friendly insulation to keep warm.
Step 6: Construct the Cabin Frame
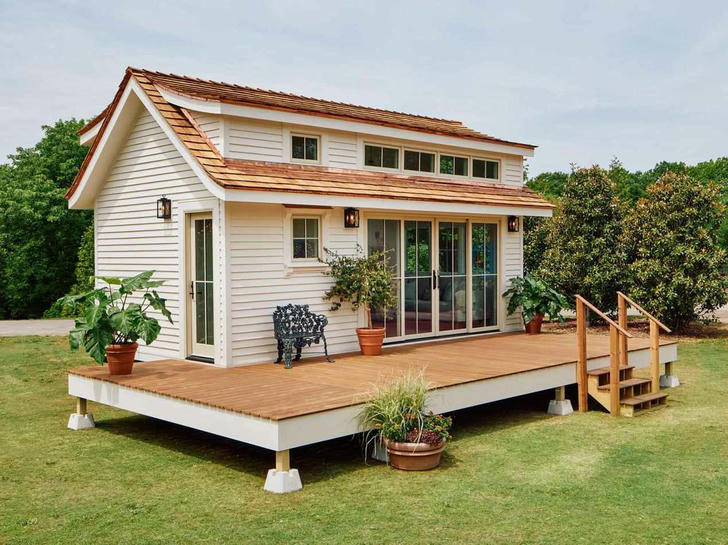
Start by building the floor frame with pressure-treated lumber, securing it to the foundation. Then, raise the walls, making sure everything is level and vertical. Finally, put up the roof—gabled roofs are popular for off-grid cabins since they shed water and snow well.
Kyle in Tennessee built his cabin’s frame himself, focusing on large windows for natural light and a gabled roof to handle weather.
Step 7: Install Utilities
Time to bring your cabin to life with power and water. Options include:
- Solar panels to generate electricity, paired with batteries for cloudy days
- Rainwater collection or nearby water source hookups with filtration
- Composting toilets or septic systems for waste management
Lily in Oregon installed solar panels on her roof with battery storage and a rainwater collection system that funnels water from gutters into a tank—perfect for living fully off-grid.
Step 8: Complete Interior Finishes
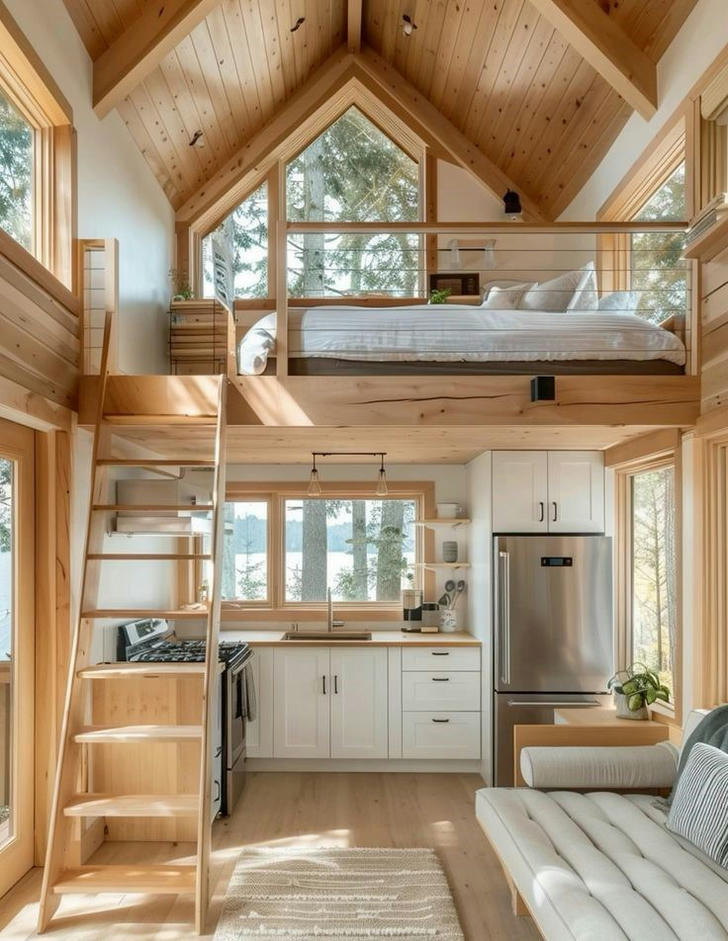
Keep your cabin comfy by insulating it with sustainable materials like cellulose or wool. Choose natural, durable materials for walls and floors that are easy to care for. Pick functional furniture—multi-purpose pieces help save space.
Alex in New Mexico used reclaimed wood walls and bamboo floors, added big windows for light and airflow, and picked a sofa bed to make the most of his small space.
Step 9: Landscaping and Final Touches
Wrap up your project by enhancing the outdoors. Plant native species and veggies—drought-resistant ones help reduce water use. Add outdoor spots like fire pits or swings for relaxing with family and friends. Create pathways or gardens to make your cabin welcoming and beautiful.
Megan in Colorado planted a native garden, built stone paths, and set up a fire pit and swing, creating a perfect hangout for gatherings.

